
Overview
The PowerConnect Cloud software can be installed as a standalone agent or as a SAP Cloud Foundry application in BTP:
-
Standalone - the PowerConnect agent runs as a standalone piece of software. This requires a host (two for HA) running on-premises or in a cloud provider as infrastructure as a service.
-
SAP Cloud Foundry - the PowerConnect Cloud agent runs inside the Cloud Foundry stack. It uses Object Storage to persist its configuration and state.
Deployment Options
|
Type |
High Availability |
Volume |
Data Transformation and Mapping Support |
Input Types |
|---|---|---|---|---|
|
Standalone |
Yes - full clustering support with active active configuration |
Supports high volume use cases - millions of events per day |
Yes - user configurable field mapping and data transformation |
All - supports both pull and push based inputs |
|
Cloud Foundry |
No - not supported inside Cloud Foundry |
Supports high volume use cases up to the limit of a single instance |
Yes - user configurable field mapping and data transformation |
All - supports both pull and push based inputs |
|
Modular Input (Deprecated and not supported anymore) |
No - not supported by the modular input framework |
Supports low to medium volume use cases - up to 100k events per day |
No |
Pull - supports only pull based inputs |
Standalone Installation
Hardware Requirements
-
x86 64-bit chip architecture
-
4 CPU cores at 2GHz or greater
-
6GB RAM
-
1GB storage
-
A 1Gb Ethernet NIC
-
A 64-bit Linux distribution
Software Requirements
-
A modern 64 bit Linux distribution
-
Java 11 (OpenJDK or Oracle)
-
A modern browser (Chrome, Firefox, Safari etc.)
Network Requirements
-
HTTP inbound on port 3000 to connect to the PowerConnect Cloud Web UI
-
HTTPS outbound on port 443 to connect to SAP Cloud
-
HTTP or HTTPS outbound on port 8088 to connect to the Splunk HTTP Event Collector (Splunk on premises or Splunk Cloud)
-
TCP 5701 between PowerConnect Cloud agent nodes if running as a cluster
Pre-Installation Steps
-
Create a directory on the target server where the PowerConnect Cloud software will be installed
sudo mkdir /opt/powerconnect
-
Create a group for the powerconnect user
sudo groupadd powerconnect
-
Create a user on the target server that will own and run the PowerConnect Cloud software
sudo useradd -m -g powerconnect -d /opt/powerconnect powerconnect
-
Set the default shell to bash for the powerconnect user
sudo usermod --shell /bin/bash powerconnect
-
Make sure the PowerConnect user has full ownership of the PowerConnect directory
sudo chown -R powerconnect:powerconnect /opt/powerconnect
Installation Steps
-
Download the PowerConnect Cloud package tarball file
-
Copy the tarball file to the target server where PowerConnect Cloud will run
scp powerconnect-cloud-1.0.0.tgz <target-server>:/tmp
-
Login to the target server as the PowerConnect user
-
Unpack the package to the PowerConnect folder
tar -zxvf powerconnect-cloud-1.0.0.tgz -C /opt/powerconnect
-
Switch to the PowerConnect folder
cd /opt/powerconnect
-
Make sure PowerConnect Cloud start script is executable
chmod +x bin/powerconnect.sh
-
Set the POWERCONNECT_SECRET environment variable. This is used by the keystore where client ids and secrets are stored.
export POWERCONNECT_SECRET=<secret>
Make a note of this secret as it’s required each time the PowerConnect Cloud Agent is started
-
Start PowerConnect Cloud
bin/powerconnect.sh start
-
Browse to http://<powerconnect-server>:3000 to access the PowerConnect Cloud web UI. Use the default admin/admin username and password for first-time access (be sure to change it)!
SAP Cloud Foundry Installation
Installation Steps
-
Download the PowerConnect Cloud SAP Cloud Foundry package and manifest file
-
Make sure you have the Cloud Foundry command line tools installed
-
Copy the PowerConnect Cloud package and manifest file to a folder for deployment
-
Modify the manfiest file and enter a password for the POWERCONNECT_SECRET environment variable
--- applications: - name: powerconnect-cloud memory: 1024M timeout: 300 random-route: true path: ./powerconnect-cloud.zip buildpacks: - https://github.com/cloudfoundry/java-buildpack.git#4.77.0 env: POWERCONNECT_SECRET: <insert password here> JBP_CONFIG_OPEN_JDK_JRE: "jre: { version: 11.+ }" JBP_CONFIG_DIST_ZIP: "arguments: ['start']" -
If required update the memory settings, by default the manifest will create a 1GB instance
-
Deploy the package
cf push -
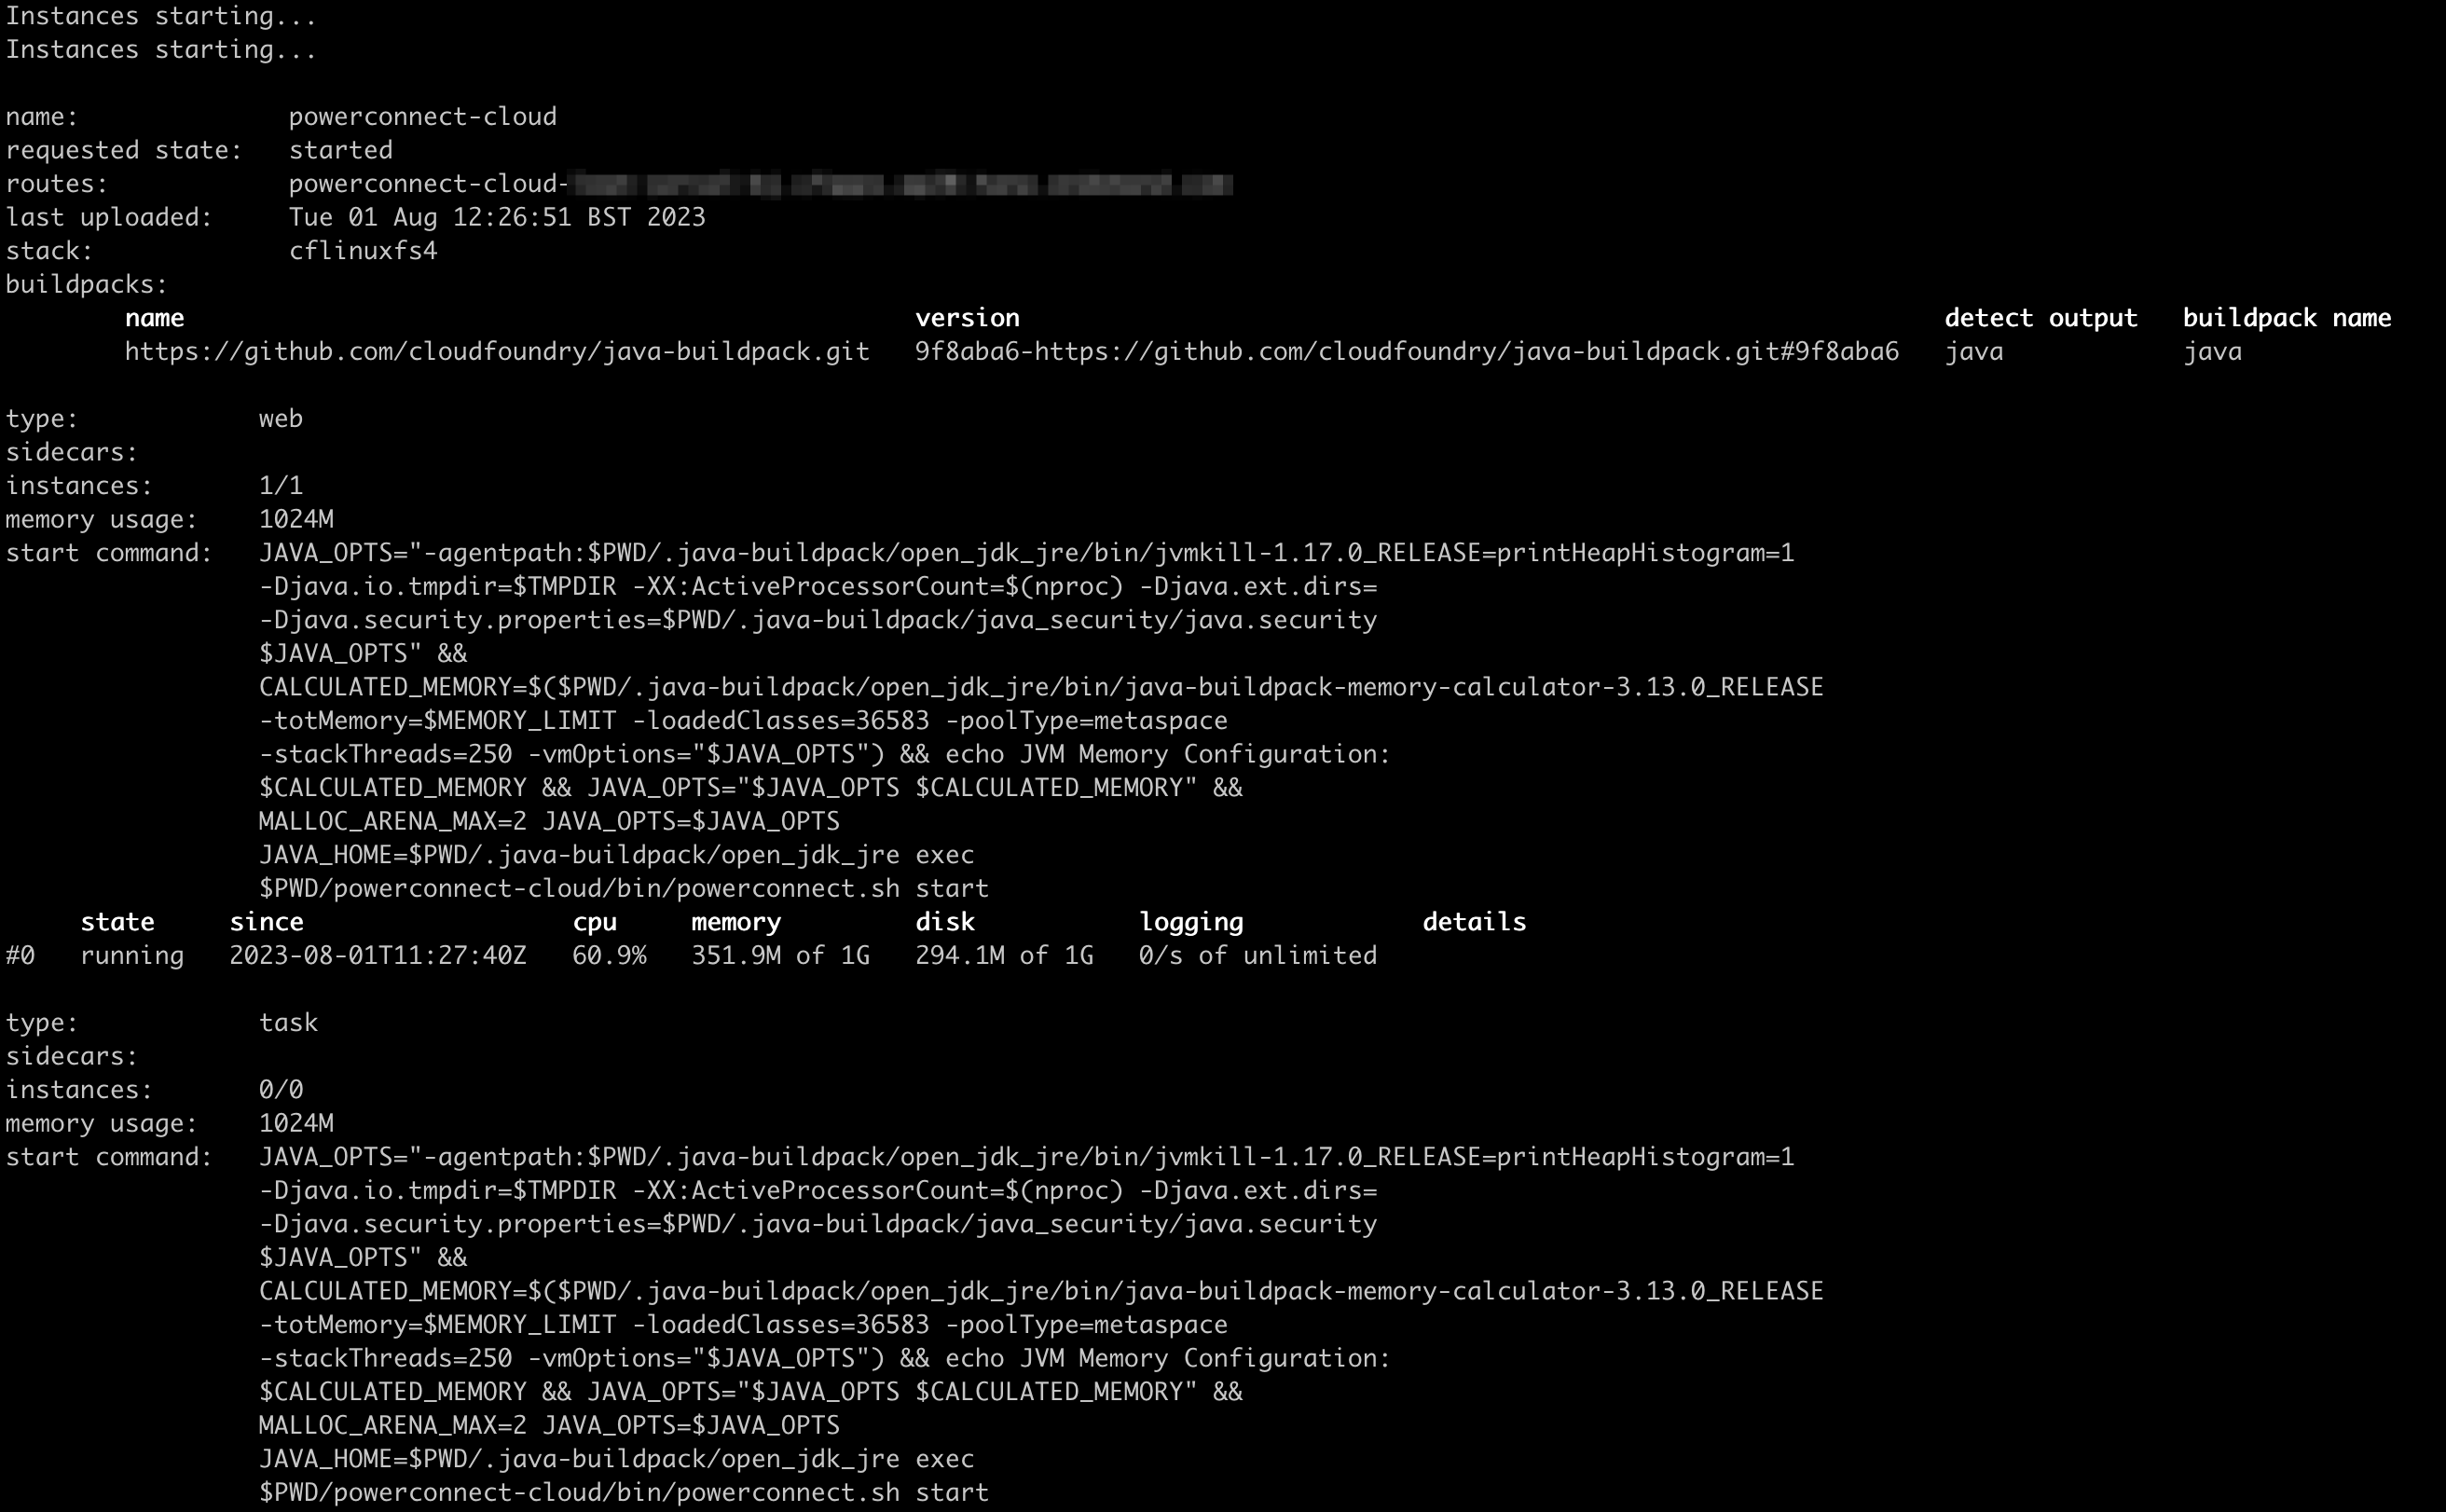
After a minute or two the process should finish and the PowerConnect Cloud agent should be in “started” state
-
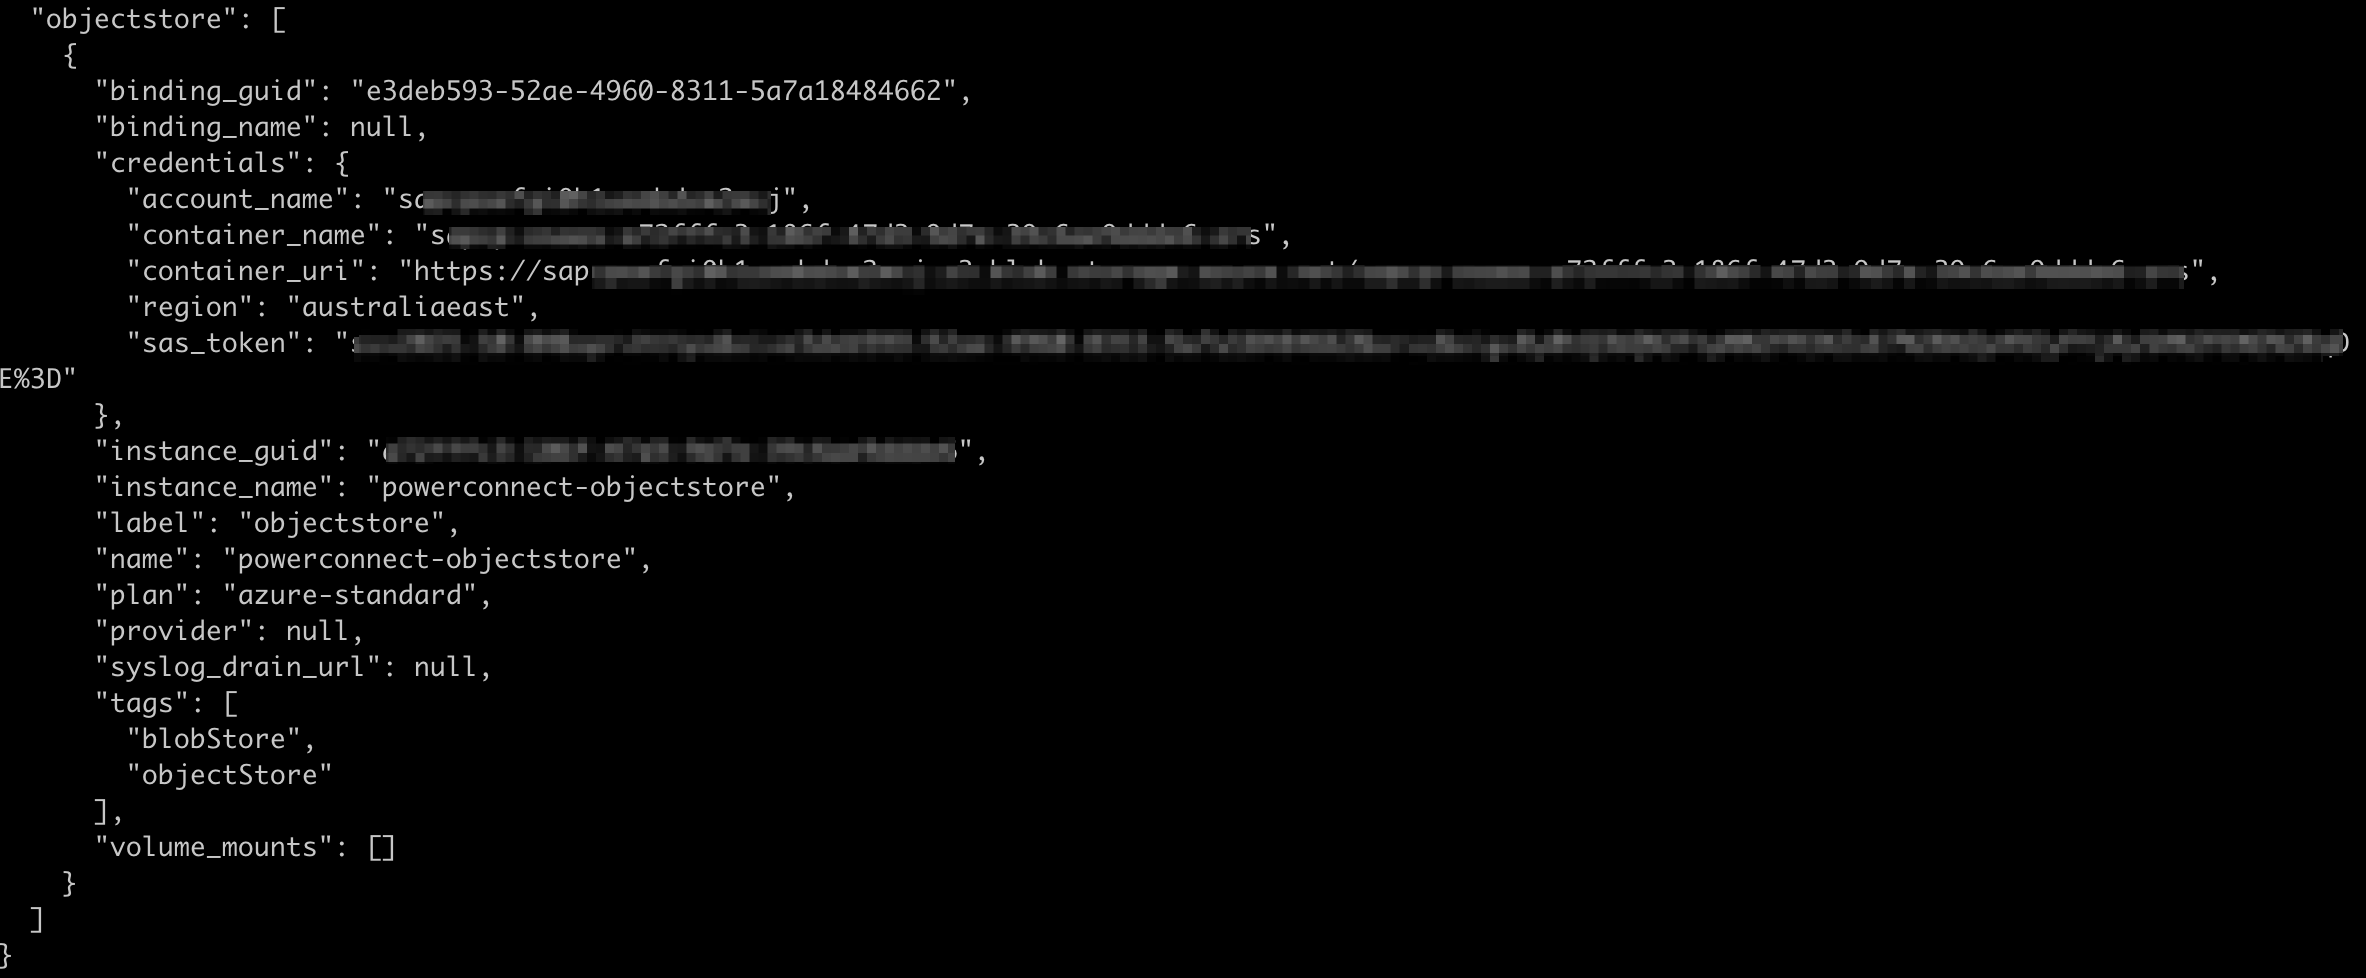
The Cloud Foundry environment does not have persistent storage so we need to use the SAP Object Storage service for the PowerConnect Cloud agent to be able to persist its configuration
-
Follow the documentation here to create an object store service and bind it to the PowerConnect Cloud app - https://help.sap.com/doc/3e17a6e11f3e46f4af9f33387471e3e0/Cloud/en-US/ObjectStore-EN.pdf
-
Once the Object Store service has been bound to the PowerConnect Cloud app restage the app
cf restage powerconnect-cloud -
The PowerConnect Cloud application should now be running and leveraging object storage as it’s datastore
cf env
-
Get the url that the PowerConnect Cloud agent UI is running on
cf apps

-
Copy the value under routes and paste into your web browser and the PowerConnect Cloud UI should be displayed