
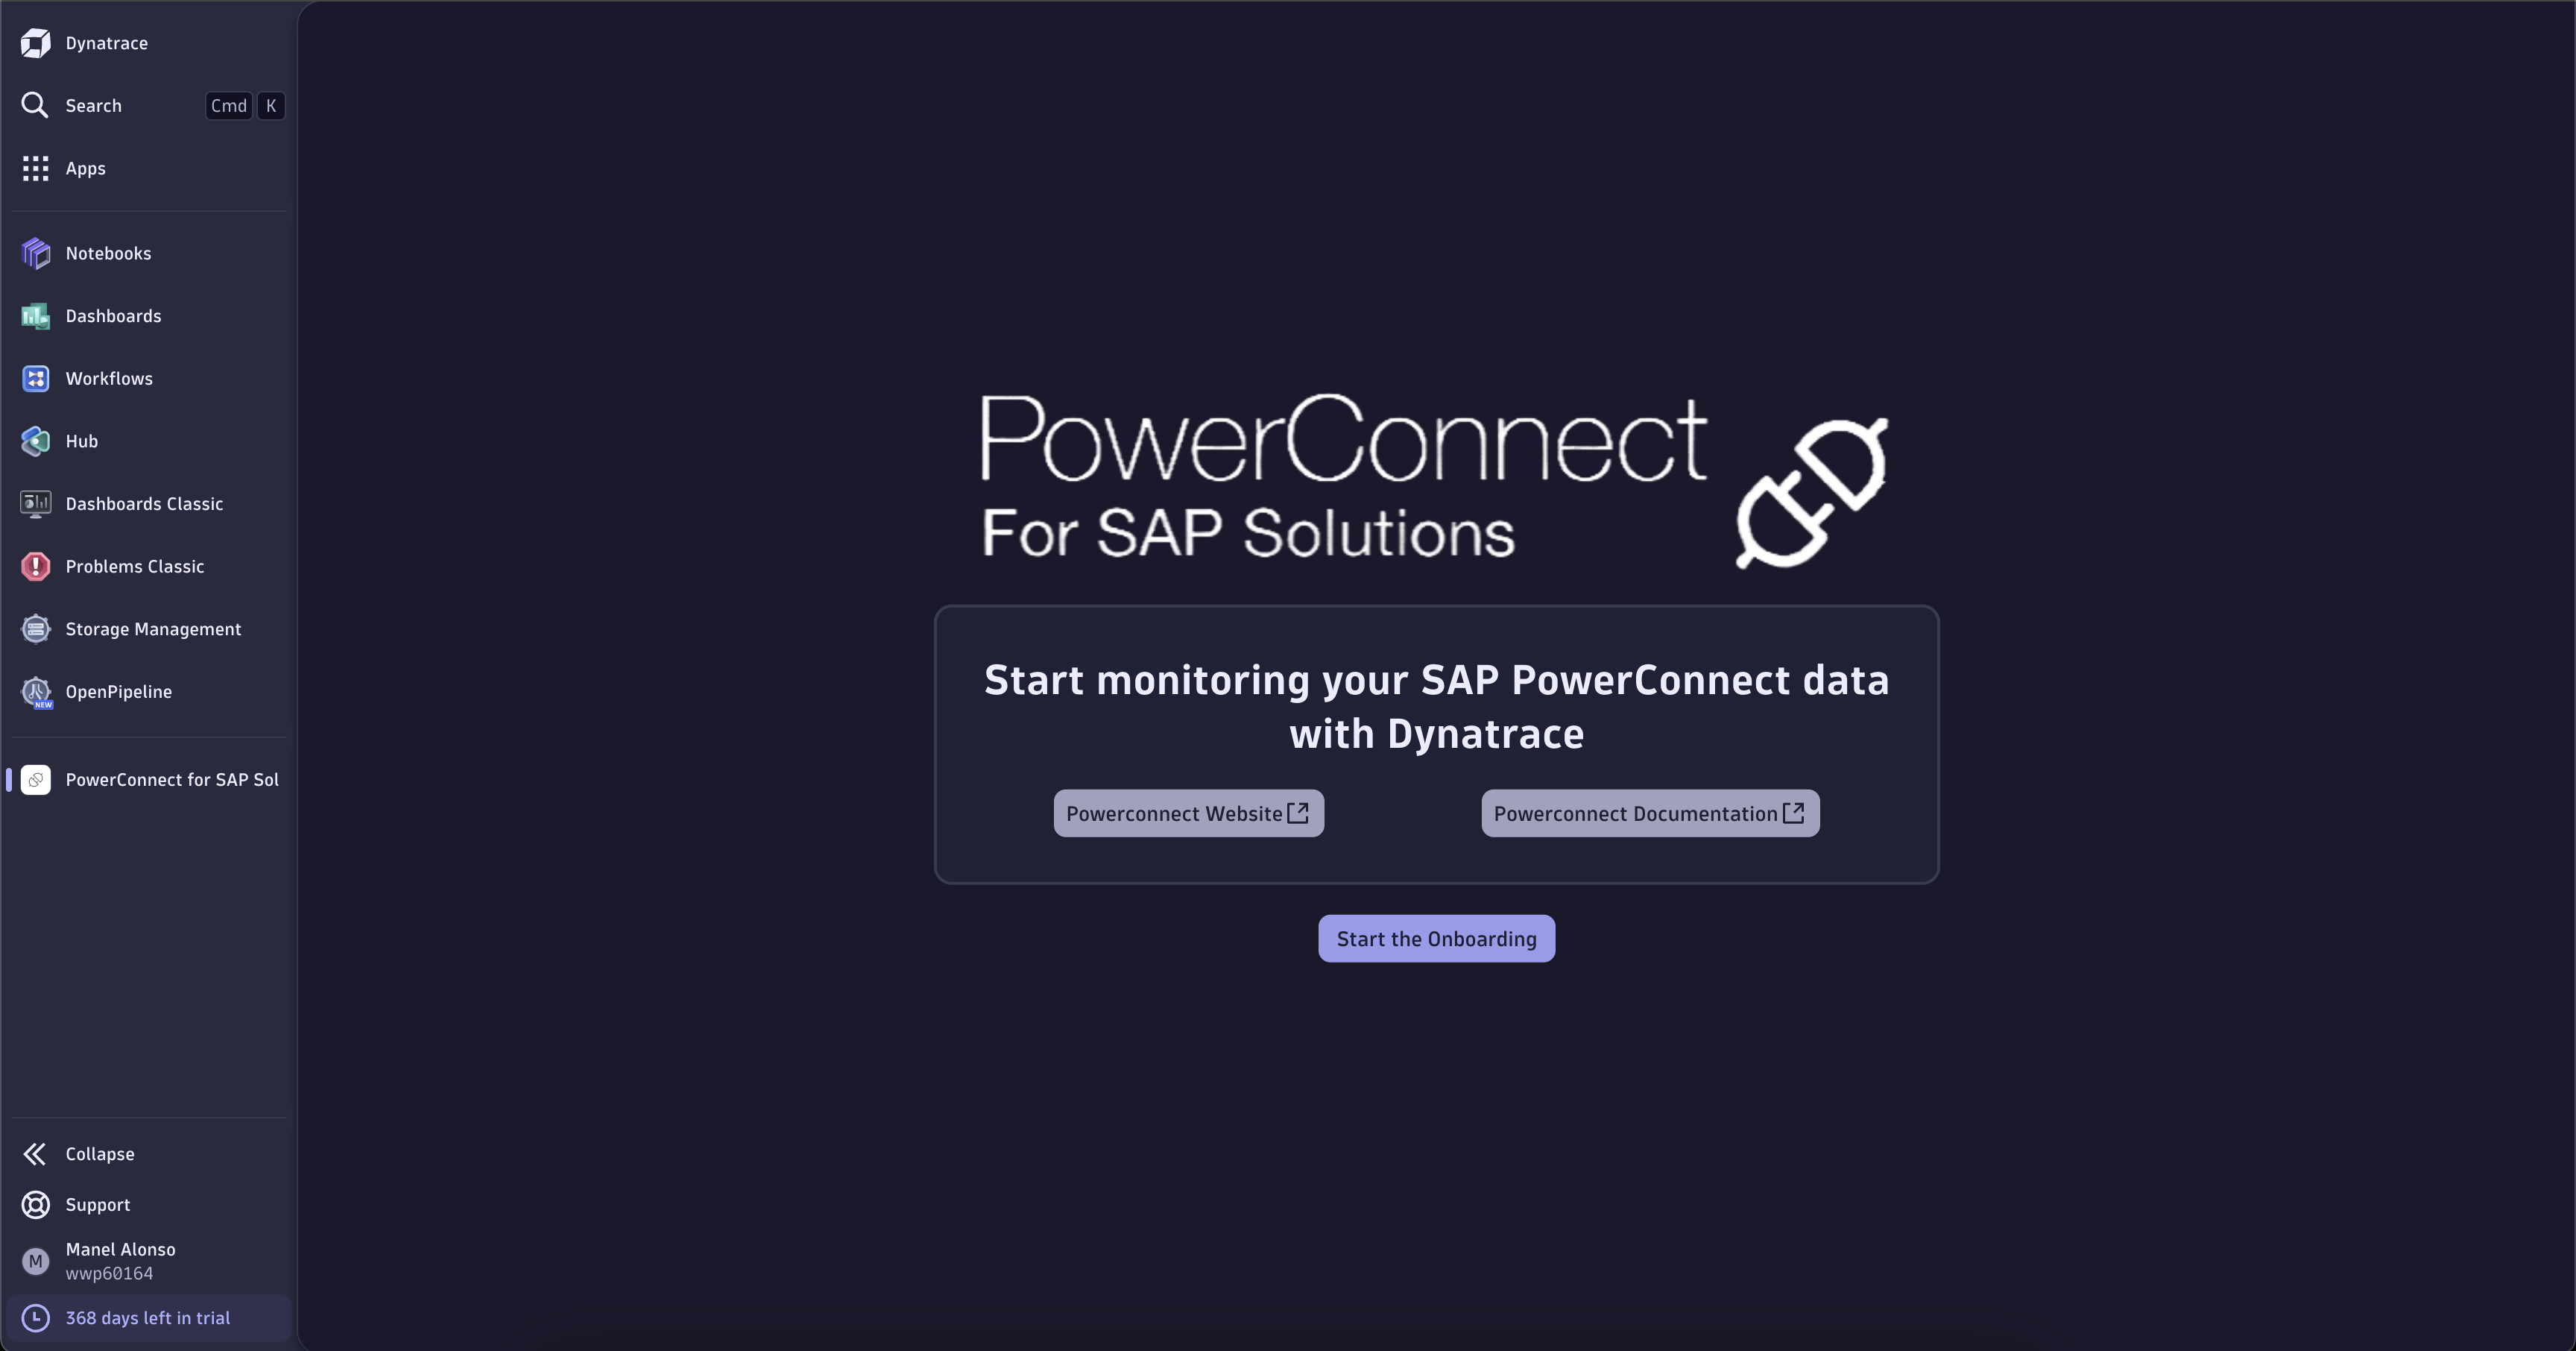
When you open the app for the first time, you will be shown the starting screen, with information about PowerConnect and some useful links to the documentation and website.
To start the Onboarding process for the app, click on “Start the Onboarding”
Once you begin the onboarding process the App will automatically gather the required permissions needed to configure everything. If you have any advanced use case you can use an OAuth Client but we don’t recommend it. Follow this link to go to the Advanced Onboarding guide
Next, we will continue to the second step, where the app will notify us about the creation of buckets. Note that this buckets are used for our out of the box dashboards that we include with the app, but you can always opt out of using them, although they need to be created for the app to function properly.
You will be able to select a custom data retention for each bucket, once you’re happy with the selection, click on “Create Buckets” to continue.
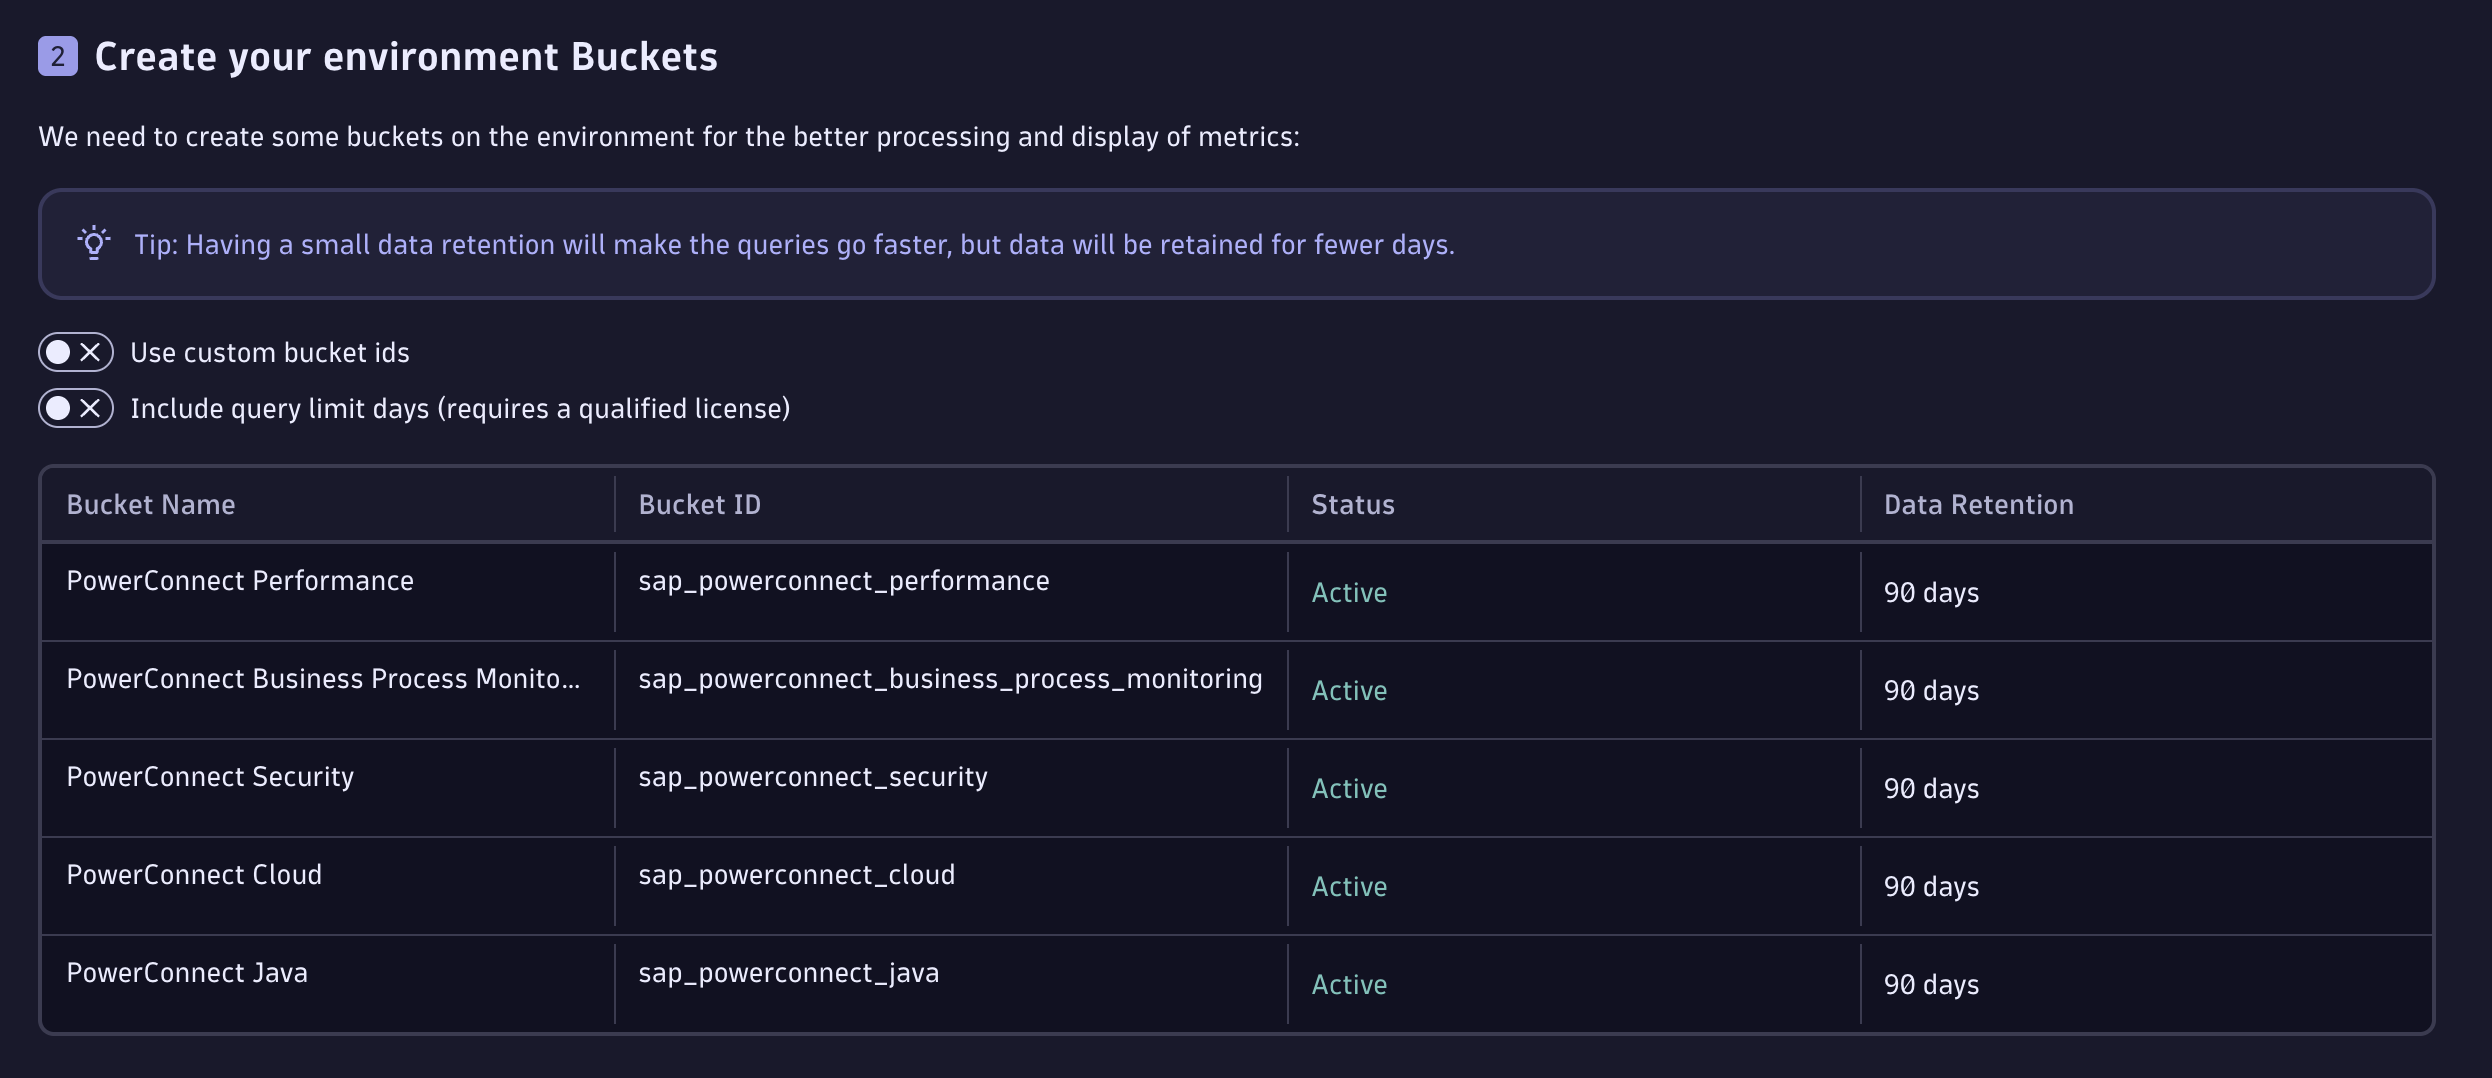
Once the creation has been successful, the third and final step will appear.
This last step will create the OpenPipeline configuration for the data ingestion with the metric creation, processing rules and storage configurations needed for PowerConnect to function properly with Dynatrace.
Click on “Deploy OpenPipeline” to begin the configuration deployment process.
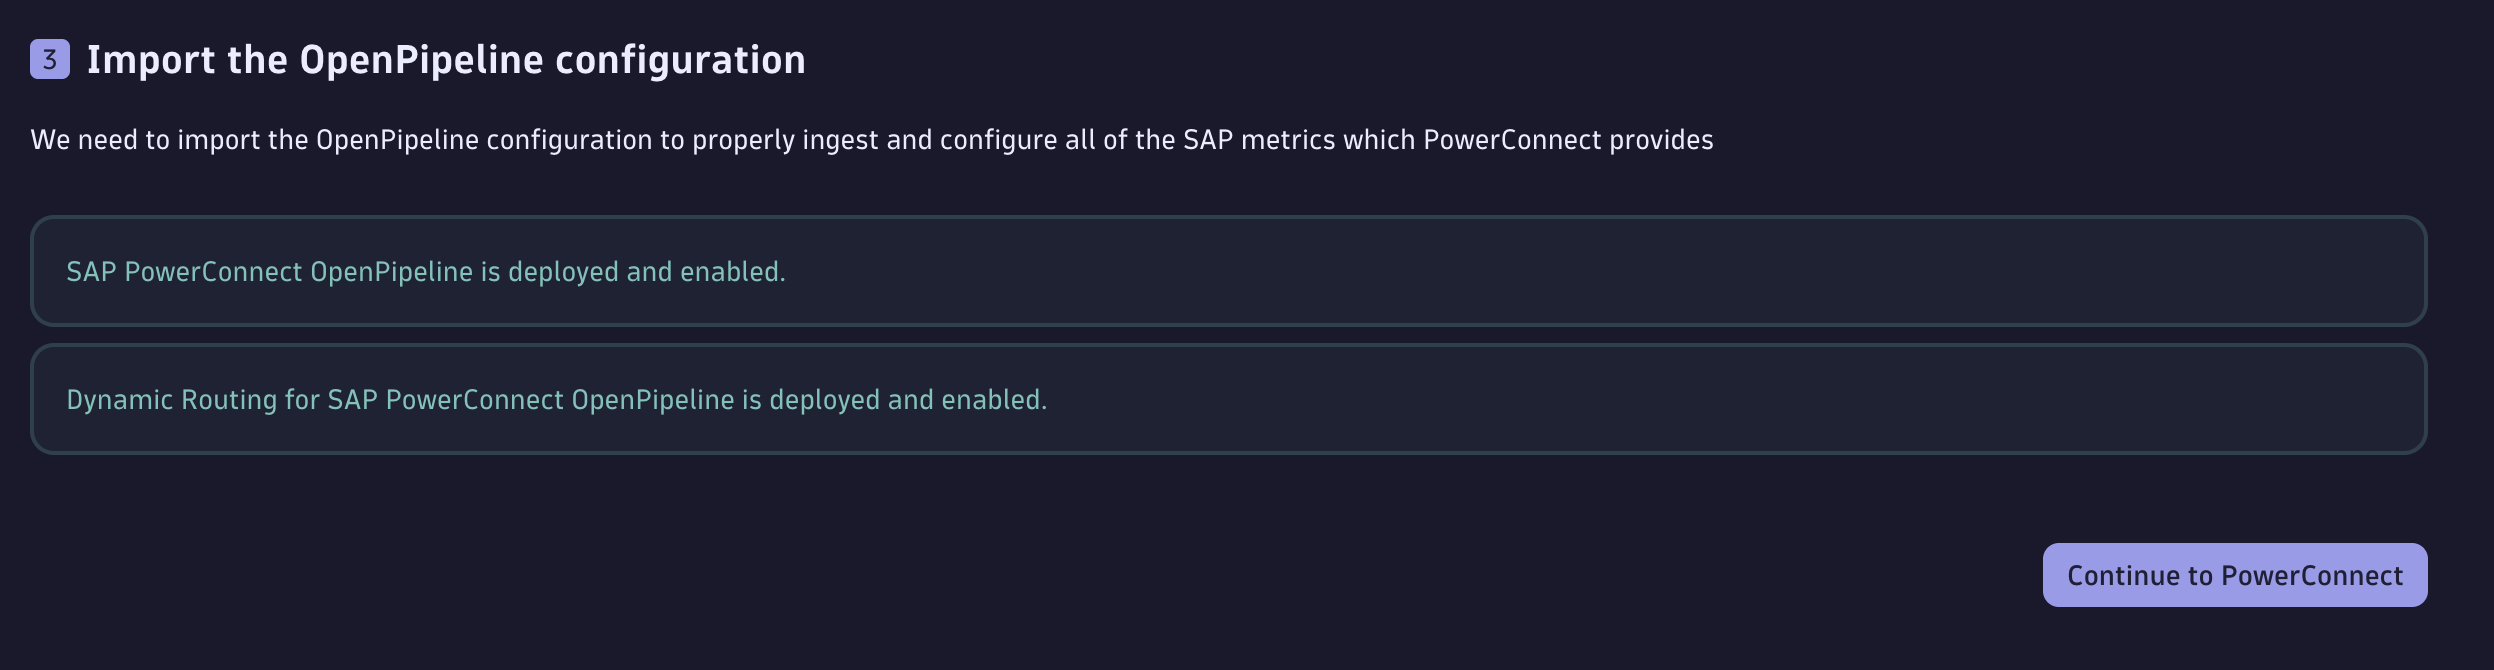
Once the Pipeline has been deployed successfully, you will be met with a button called “Continue to PowerConnect”, which will take you directly to the main APP.
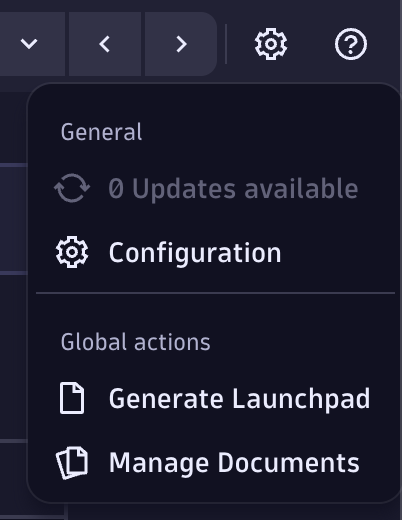
In case you need to access this configuration again, or need to reset the entire config, you can always access it by clicking on the header settings icon/button and then the option called “Configuration”.