KB 119 (Java NW) - Configuring PowerConnect Java UI to use SSL
|
Category: Information |
Priority: Normal |
|---|---|
|
Platform: Java(NW) |
Version: 1 from 23.03.2021 |
Description
There may be a requirement to make the PowerConnet Java UI accessible via HTTPS only. To do this please follow the steps below:
-
Login to SAP NWA
-
Navigate to SOA -> Application and Scenario Communication -> Single Service
-
Click Go
-
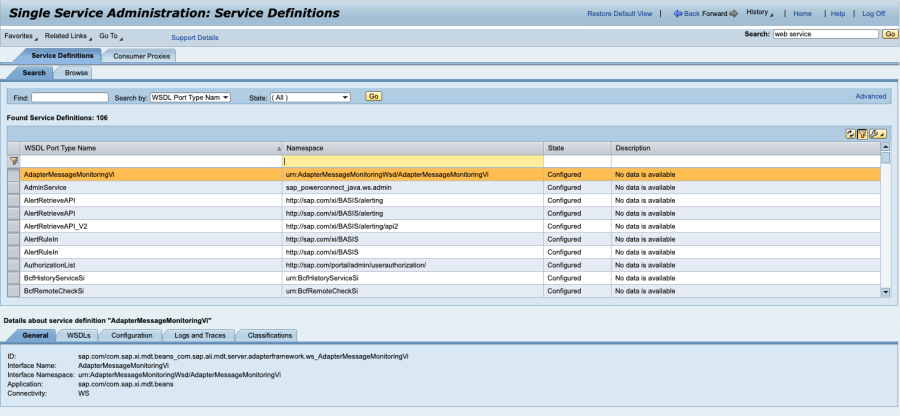
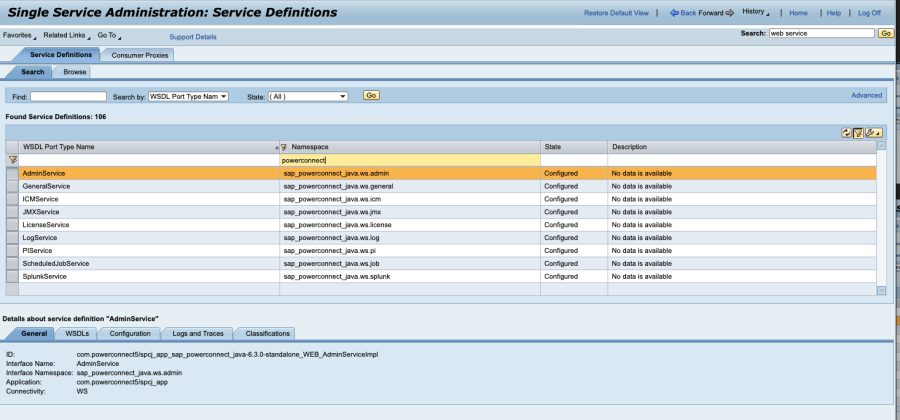
Apply a filter on the Namespace column with the value "powerconnect" and hit return
-
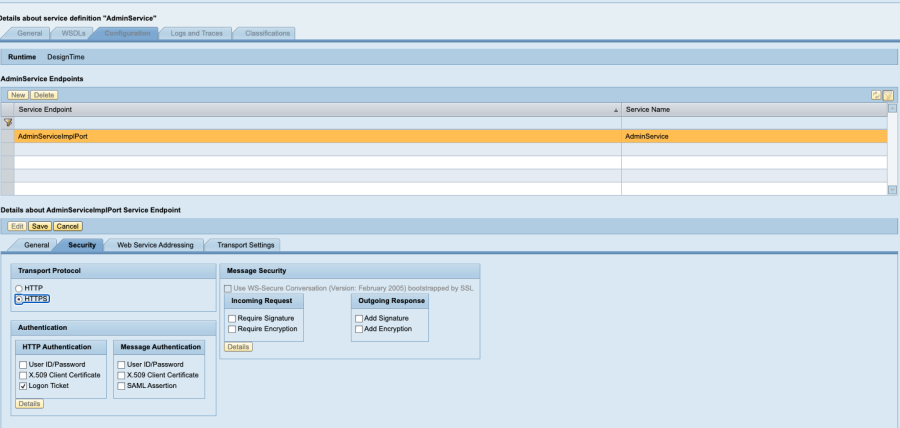
For each PowerConnect Service click the Configuration tab -> Security tab -> Edit and change the Transport Protocol from HTTP to HTTPS
-
Click Save and repeat for the remaining PowerConnect Services
-
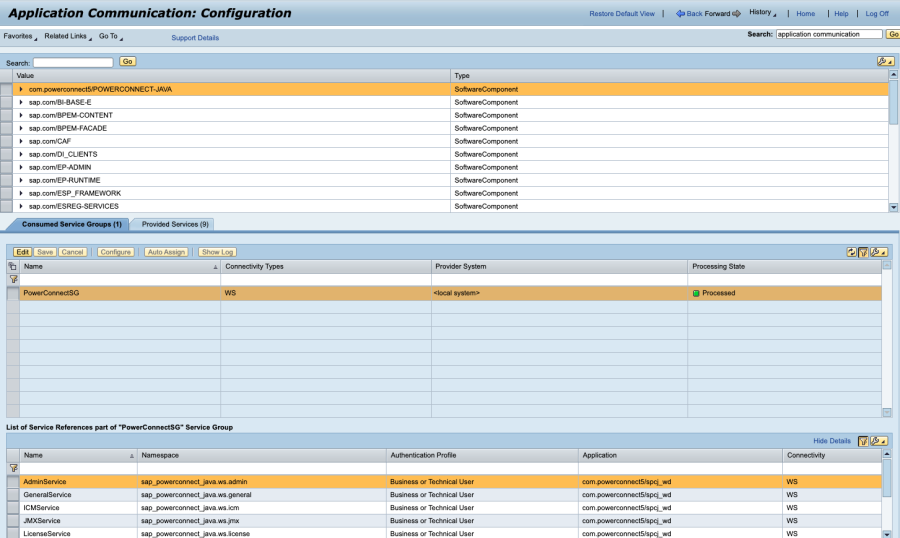
Navigate to SOA -> Application and Scenario Communication -> Application Communication
-
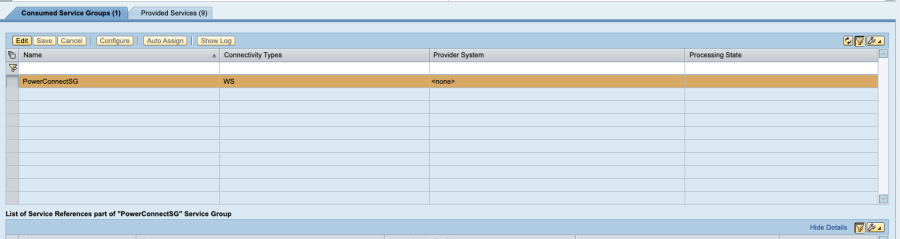
Click the Edit button then change the Provider System for the PowerConnectSG Service Group dropdown to None and click Save
-
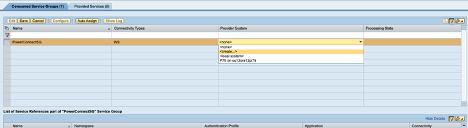
Click the Edit button again and this time choose <create...>
-
Enter your System Name and click the SAP Java radio button then click next
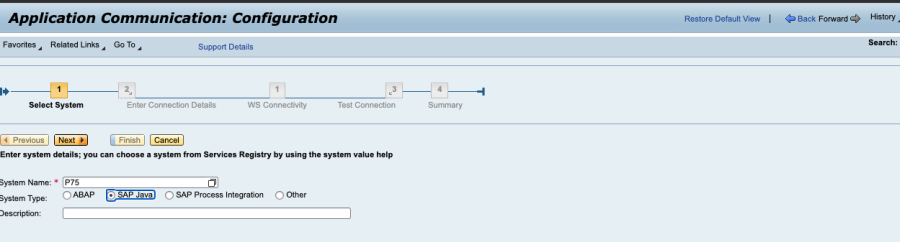
-
You may see a pop up window saying similar systems have been found. If you are happy to use your existing configuration click OK otherwise click Cancel
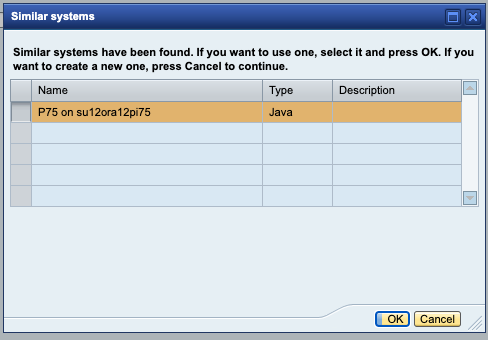
-
Enter the Host Name of the system, the SSL Port, choose https for the Protocol and make sure Use SSO is selected for the Authentication Method and click Next
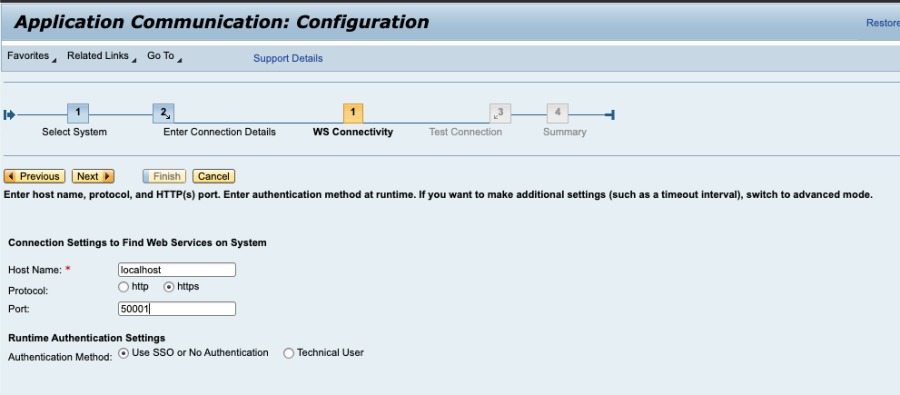
-
You may need to enter your credentials to download the WSIL. The connection will then be tested and should be successful. Click Next
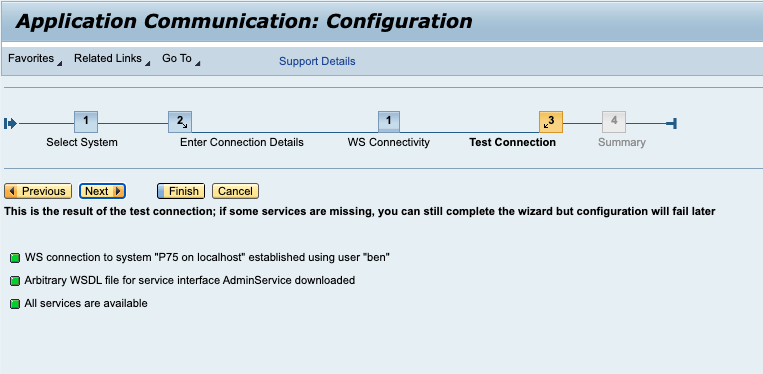
-
The final screen should show that the PowerConnectSG service group has been assigned to the newly created connection. Click Finish
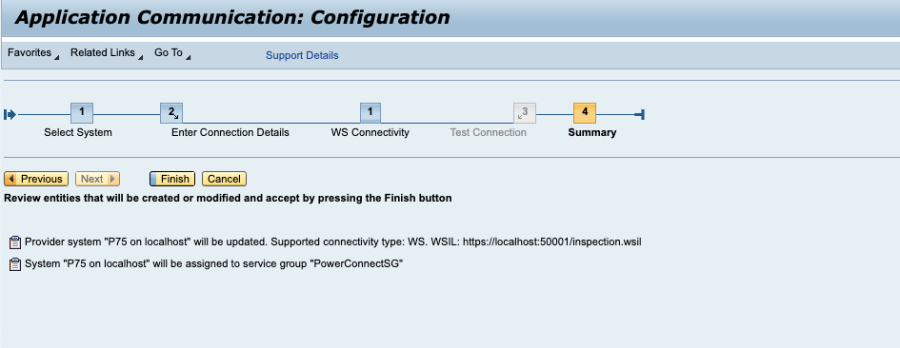
-
Finally click Save and the Processing State for the PowerConnectSG group should go green and display Processed
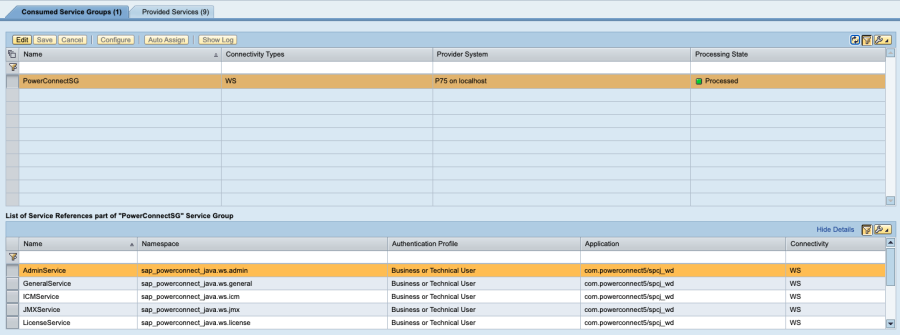
-
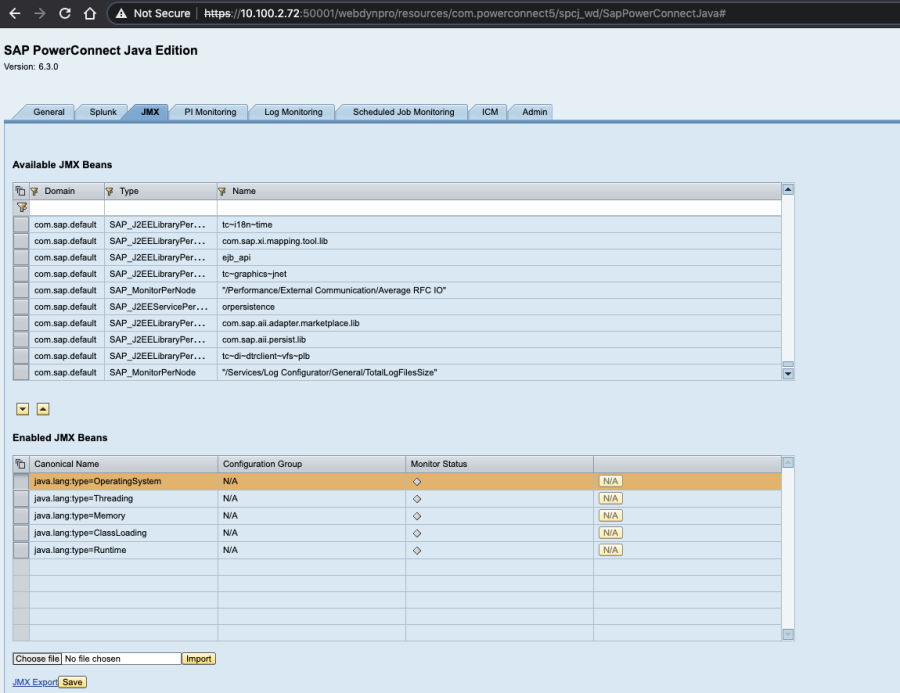
The PowerConnect UI should now be running on the SSL port