

Overview
The PowerConnect Web UI can leverage single sign for user logins and role mapping. Any provider supporting SAML should work however the functionality has been tested with:
-
Okta
-
Google Workspace
Configuration
In order to configure SAML integration with PowerConnect Cloud three pieces of information are required:
-
Assertion Consumer Service URL (ACS URL) - this is the URL where the PowerConnect Cloud agent is accessed by your SAML provider to initiate the login with /saml/login appended to it e.g. https://powerconnect-cloud-host/saml/login
-
Identity Provider URL (IdP URL) - this is the SAML provider URL
-
Identity Provider Certificate - this is the certificate of the SAML provider
Follow the instructions from your authentication provider to get these values. An Okta example is provided below.
Configuring Okta
-
Login to the Okta console
-
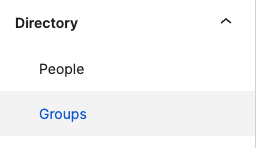
In the menu on the left click Groups under the Directory header
-
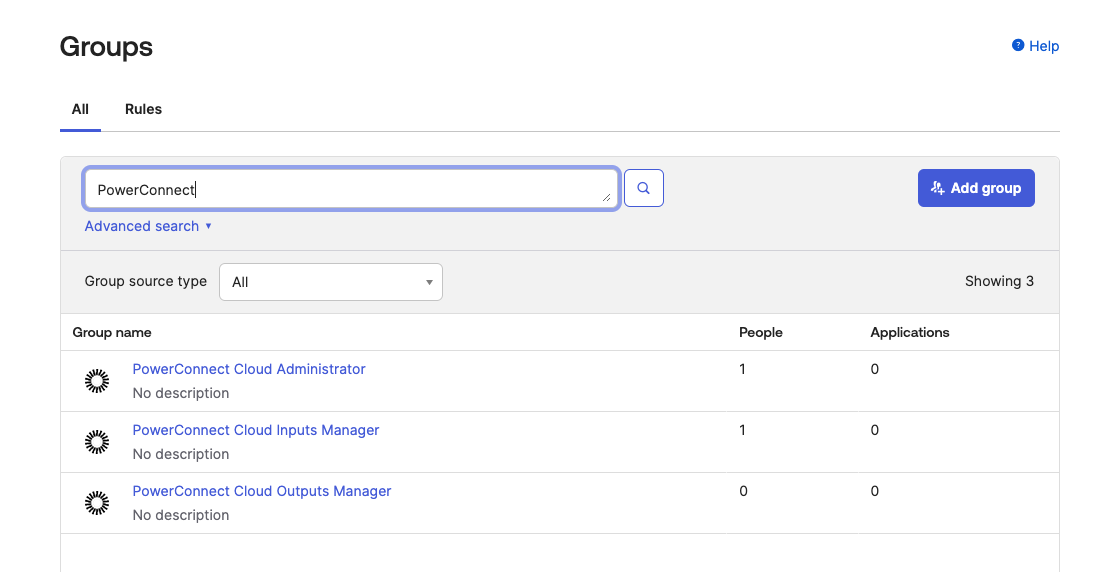
Click Add Group and create a group for each of the PowerConnect Cloud roles - Administrator, Inputs Manager and Outputs Manager
-
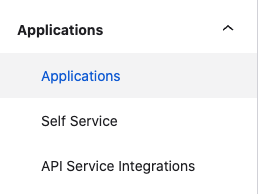
In the menu on the left click Applications
-
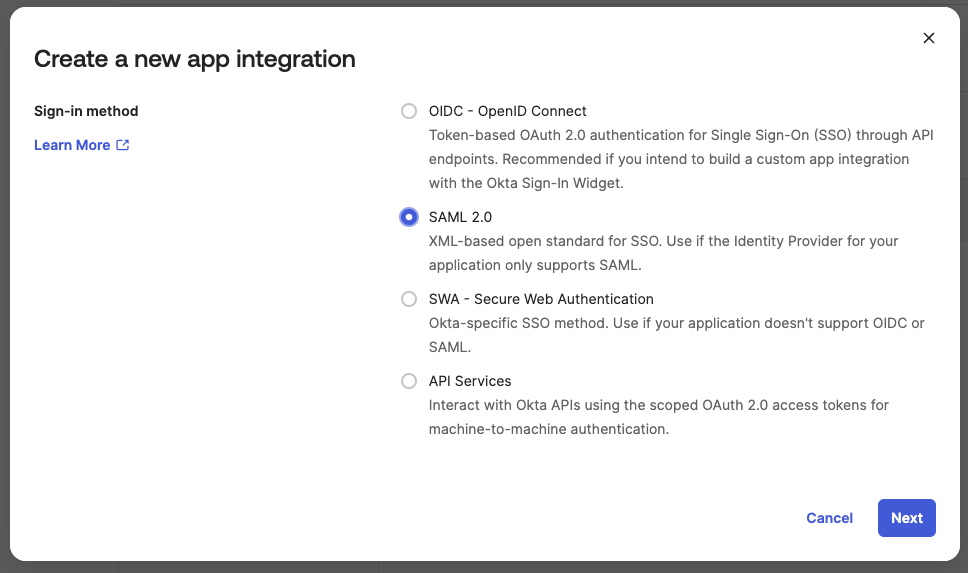
Click Create App Integration and choose SAML 2.0
-
Click Next
-
Give the application a name (e.g. PowerConnect Cloud) and click Next

-
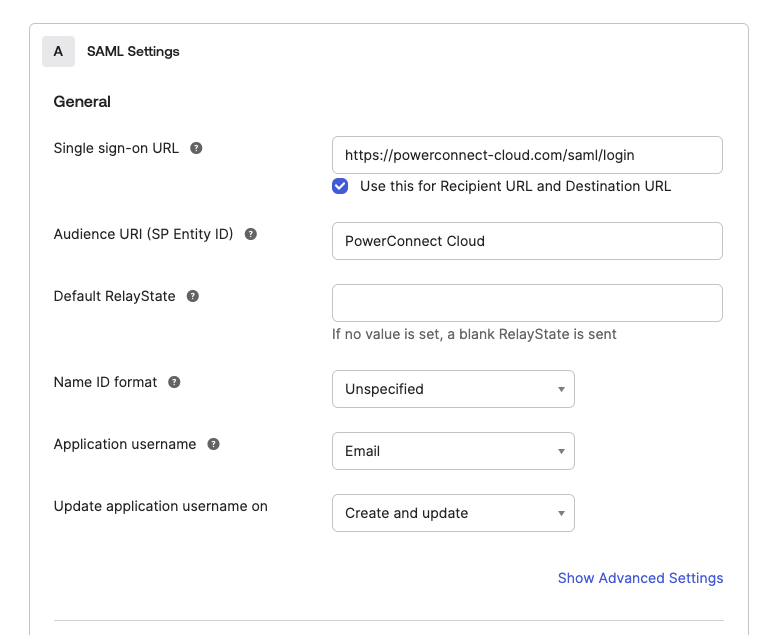
Fill out the details in the form:
-
Single sign-on url - this should be the url of the PowerConnect Cloud UI with /saml/login appended to it
-
Audience URI - this should be PowerConnect Cloud
-
Application username - this can be set to the email address attribute or the user id attribute of the user in Okta
-
-
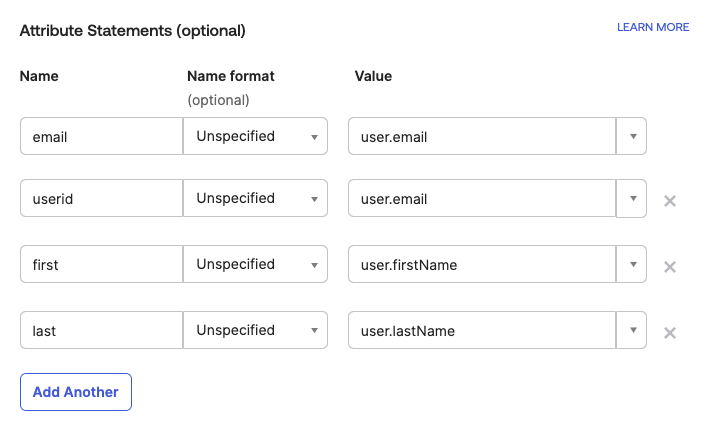
Create the attribute mappings - this maps the user attributes in Okta to the user attributes in PowerConnect Cloud
-
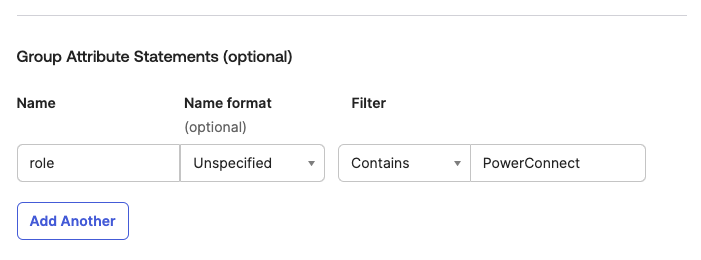
Create the Group Attribute mappings - this maps the Okta Groups to the PowerConnect Cloud Roles using the role attribute. Make sure the filter matches the group names you created previously
-
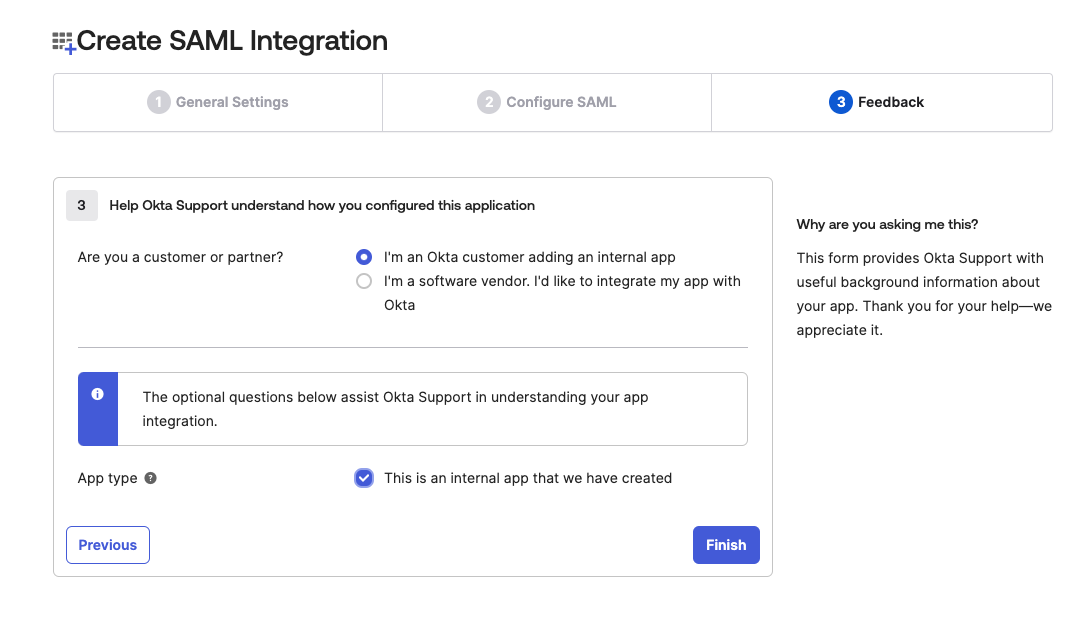
Fill out the Feedback form and click Finish
-
Under Sign On copy the Metadata URL for your newly created app
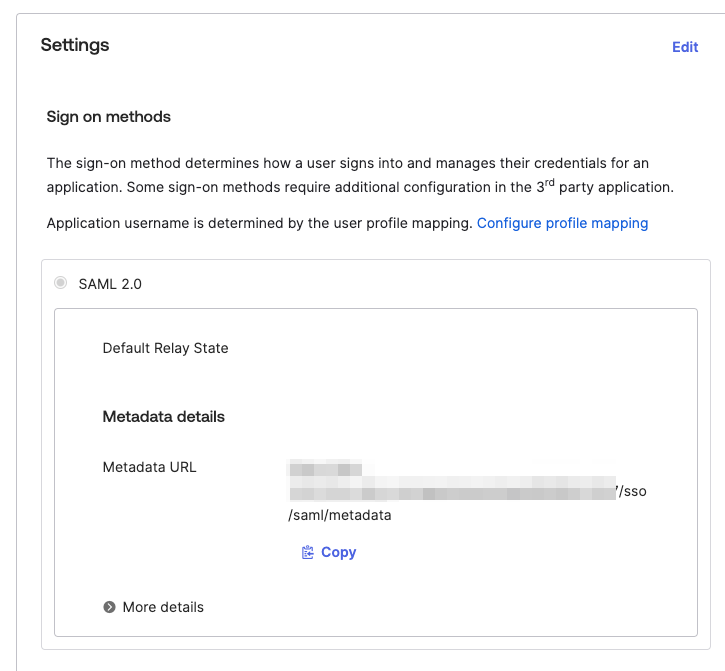
-
Open the URL in your web browser
-
Copy the contents of the X509Certificate xml element - this will be used in the certificate setting in the PowerConnect Cloud UI

-
Copy the conents of the SingleSignOnService element - this is the IdP url setting in the PowerConnect Cloud UI

-
-
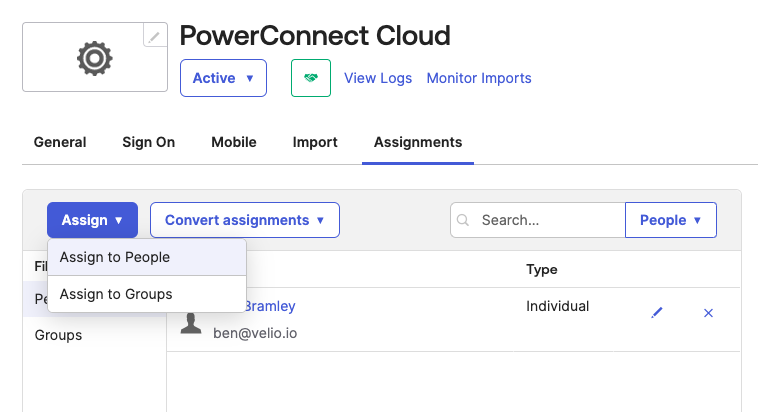
Add any users you wish to have access to the PowerConnect Cloud UI using the Assignments tab and clicking Assign → Assign to People
Configuring SAML support in PowerConnect Cloud
-
Login to the PowerConnect Cloud Web UI
-
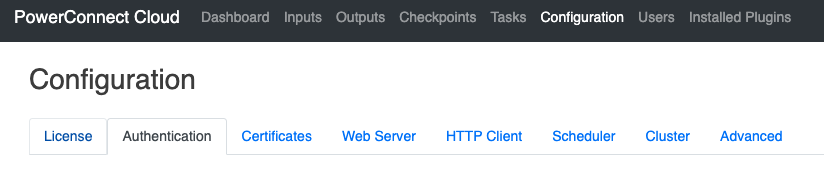
Click on the Configuration tab and then click Authentication
-
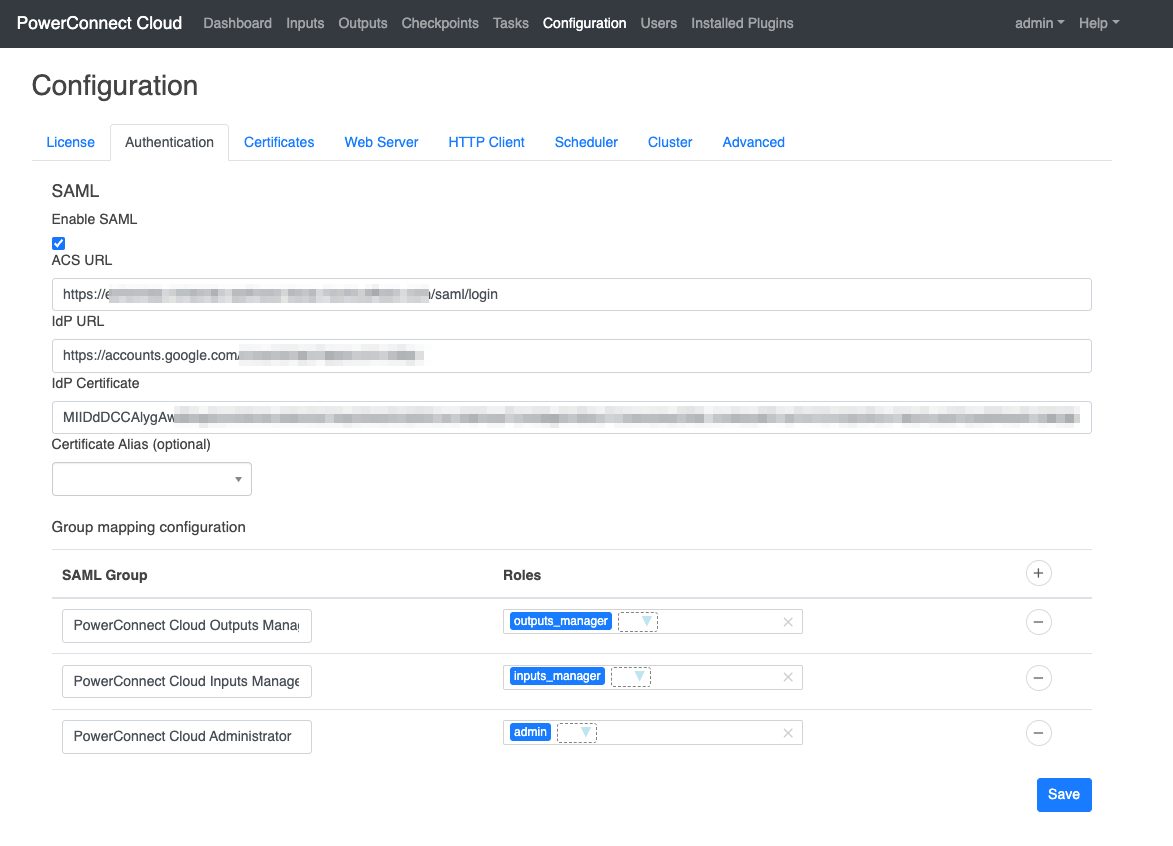
Under the SAML section check the Enable SAML checkbox to enable the SAML integration
-
Fill out the details from your SAML provider
-
The ACS URL is the PowerConnect Cloud UI URL with /saml/login appended to it
-
The IdP URL is the url of the SAML provider - in Okta it can be found in the XML metadata data collected in the section above
-
The IdP Certificate is the base64 encoded certificate of the SAML provider - in Okta it can be found in the XML metadata data collected in the section above
-
-
Perform the role mapping to map the PowerConnect Cloud groups you created in your SAML provider to the local groups that exist in the PowerConnect Cloud software
-
Click Save
-
User’s that are added to the PowerConnect Cloud SAML groups can now login from the PowerConnect Cloud login screen by clicking the Login using Single Sign On link
